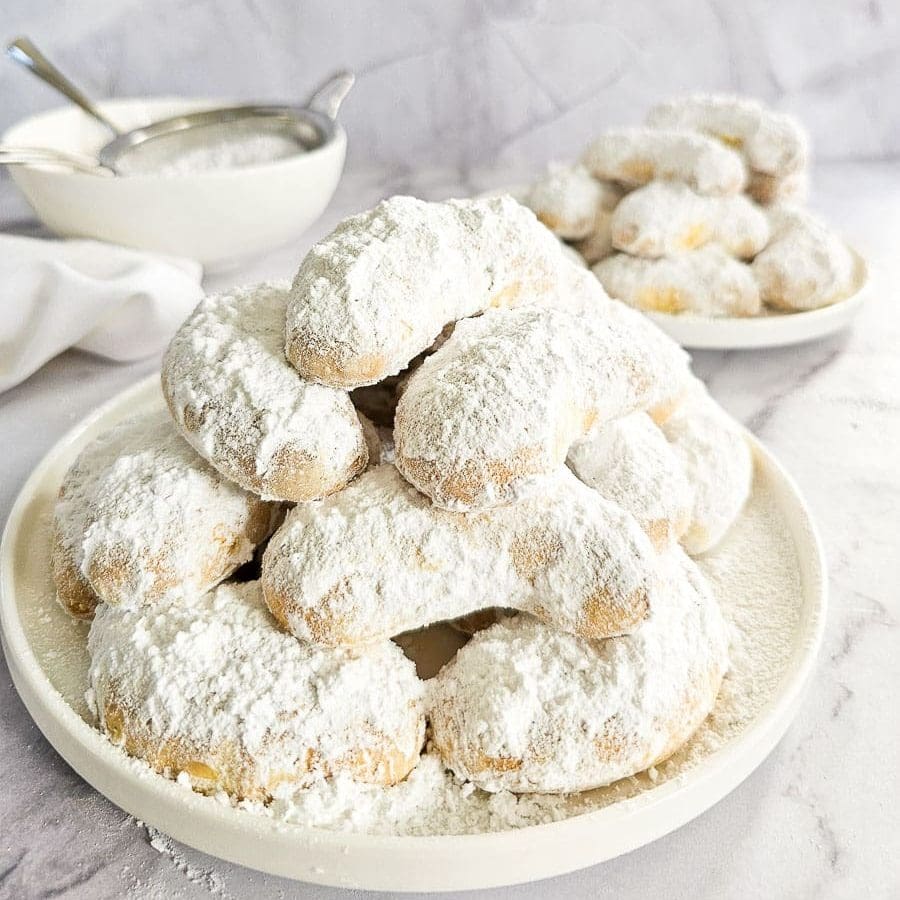
You’ll love this Tsoureki recipe as it has a subtle flavour of spices that don’t overpower the sweet bread, and a secret ingredient that makes it lighter and fluffier for days!

I remember the first time I made brioche as part of a cooking course. My immediate reaction was, this is exactly like Tsoureki, but without the extra flavourings. This brioche recipe was amazing. So light and fluffy. I couldn’t get enough of it. I found myself making it every other weekend because it tasted so good and stayed incredibly soft.The secret ingredient – bread improver! My mum’s Tsoureki is already light and fluffy, but I decided to try adding some bread improver to the recipe to see if it could enhance the texture further. The results were amazing! With the bread improver, it stayed soft and fluffy for days!
What is Tsoureki?
Tsoureki is the traditional sweet yeast bread Greeks make every year for Easter Sunday. You can always tell when it’s Easter in a Greek house. The smells coming from the kitchen fill the home, and you just know it’s that time of year. Alongside the Tsoureki, there’s always a batch of Greek Easter Cookies (Koulourakia) and a bowl of red eggs ready for cracking.
What gives Tsoureki its unique taste and smell?
There are three ingredients in this recipe that give tsoureki its unique smell and taste. Mahlepi, mastika and aniseeds. Each spice plays a crucial role in creating the signature taste and scent of this traditional sweet bread. Mahlepi and mastika can be found in some delicatessens, fruit markets or specialty Mediterranean stores that sell a range of spices. You can also order them online.
Mahlepi (Mahleb): Mahlepi is used in many Mediterranean countries as flavouring for many baked foods such as breads, biscuits, sweet cakes and pastries. It is a fragrant, rich spice made from the seeds of cherry. The seeds are cracked to extract the seed kernel which is then ground to a powder to use in cooking. The flavour of this aromatic spice is a combination of cherry and almond.
Mastika: Mastika has an amazing aroma and adds an earthy, musky flavour with hints of vanilla and licorice, enriching Tsoureki’s taste profile. Chios Mastic Gum Medium Tears 10 Gr 100% Fresh Original Xios (Masticha or Mastixa) : Amazon.co.uk: Grocery It is pretty pricy though.
Aniseed: Aniseed is a herb with a faint liquorice taste that is common in Mediterranean cooking. The flavour has similarities with other spices such as star anise, fennel and liquorice. The aniseed gives a lovely faint aroma to this bread.
Ingredients for Tsoureki (Greek Easter Sweet Bread)
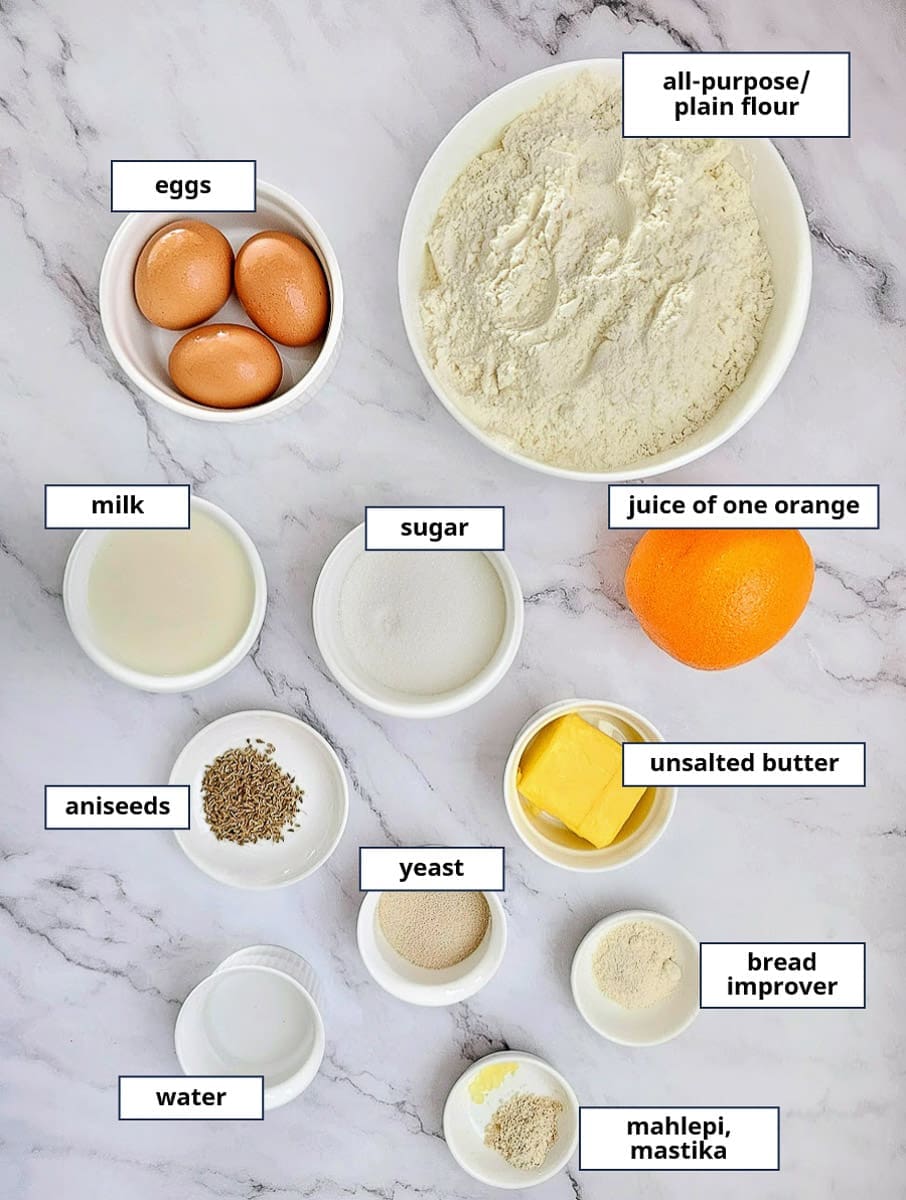
- Plain flour/all-purpose flour: You don’t need to buy special bread flour; plain flour / all-purpose flour works perfectly fine.
- Dry yeast: I always use dry yeast as this is what I have in my pantry, but my mum quite often uses fresh yeast. You just need to use twice as much fresh yeast (by weight) than dry. This recipe calls for 14 grams of dry yeast, therefore, if using fresh yeast, use approximately 28 grams.
- Bread improver: You can omit, but this really enhances the quality and texture of tsoureki, strengthening the gluten structure and improving its volume and shelf life.
- Eggs: I always buy the extra-large egg variety which is 700g for 12 eggs.
- Orange juice: While some recipes call for orange zest, I prefer to rely solely on orange juice for its subtle citrusy flavour, which adds a nice touch without overpowering the bread.
- Mahlepi: With mahlepi, less is more. Use sparingly. If you use too much, the bitterness overpowers the dish. However, when used sparingly, the subtle flavours transform the dish completely.
- Mastika: Mastika holds an earthy, musky, vanilla-like flavour. Like mahlepi, mastika can overpower other ingredients and taste bitter if too much is added, so use sparingly. If possible, it is best to purchase whole mastika and ground it fresh using a small hand grater when needed. It is difficult to find though, and expensive if you buy online, so you can leave it out.
- Aniseed: This is a crucial ingredient in capturing the authentic essence of Tsoureki, as alongside its flavour contribution, aniseeds release a delicate aroma during baking, enhancing the overall sensory appeal of the bread.
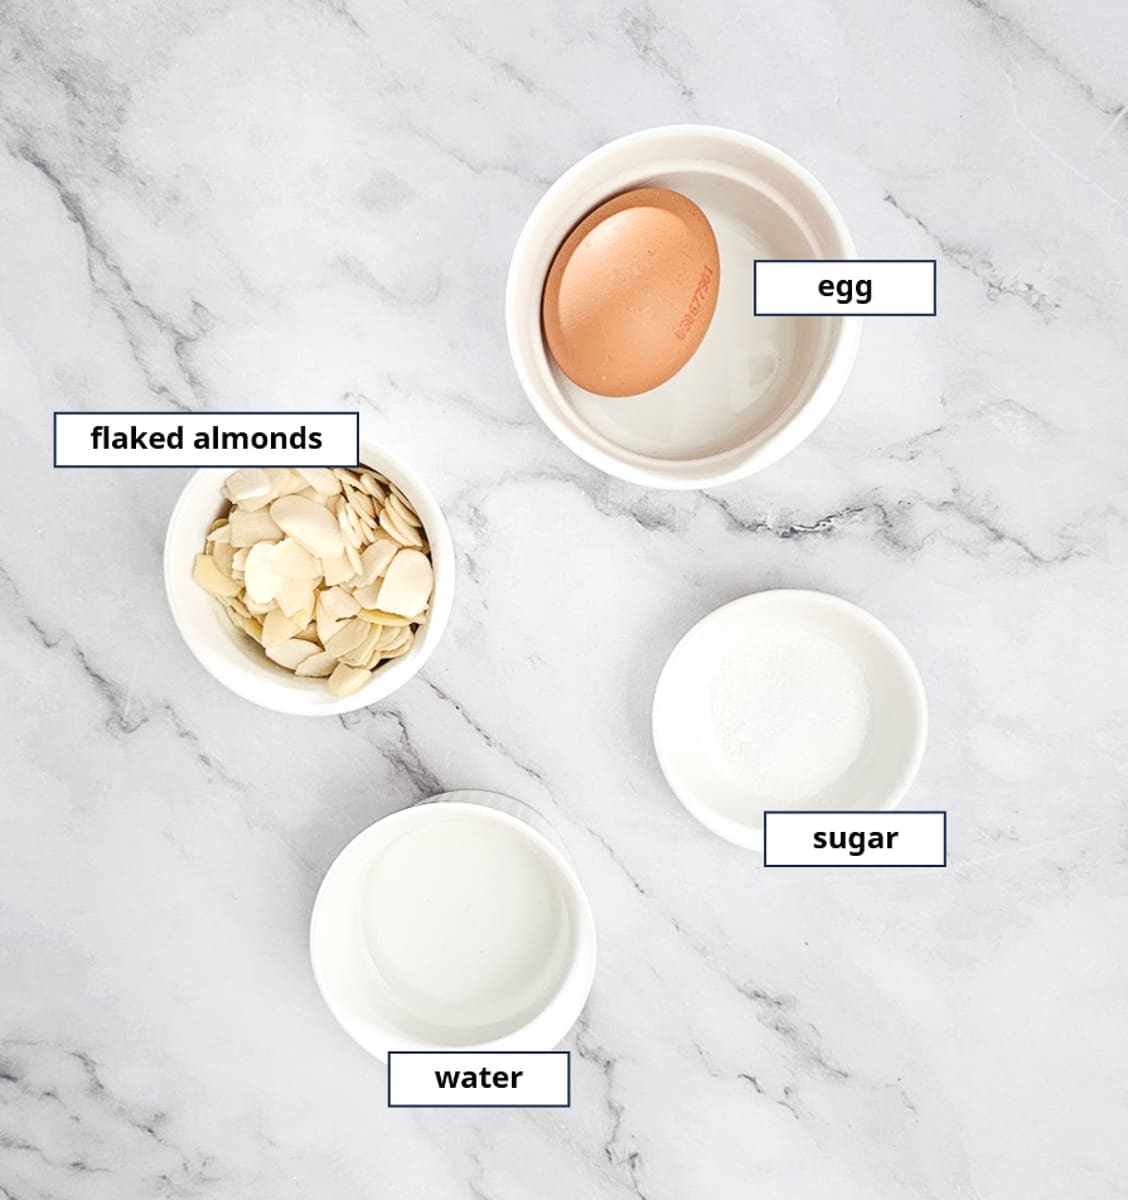
Ingredients for the glaze and garnish
How to make Tsoureki (Greek Easter Sweet Bread)
I like to knead the dough by hand, but you can use a mixer if you prefer. If you use a mixer, knead for 8 minutes on medium speed. By hand, knead for at least 10-15 minutes to ensure proper gluten development, which is crucial for achieving the desired texture and rise in the tsoureki bread.
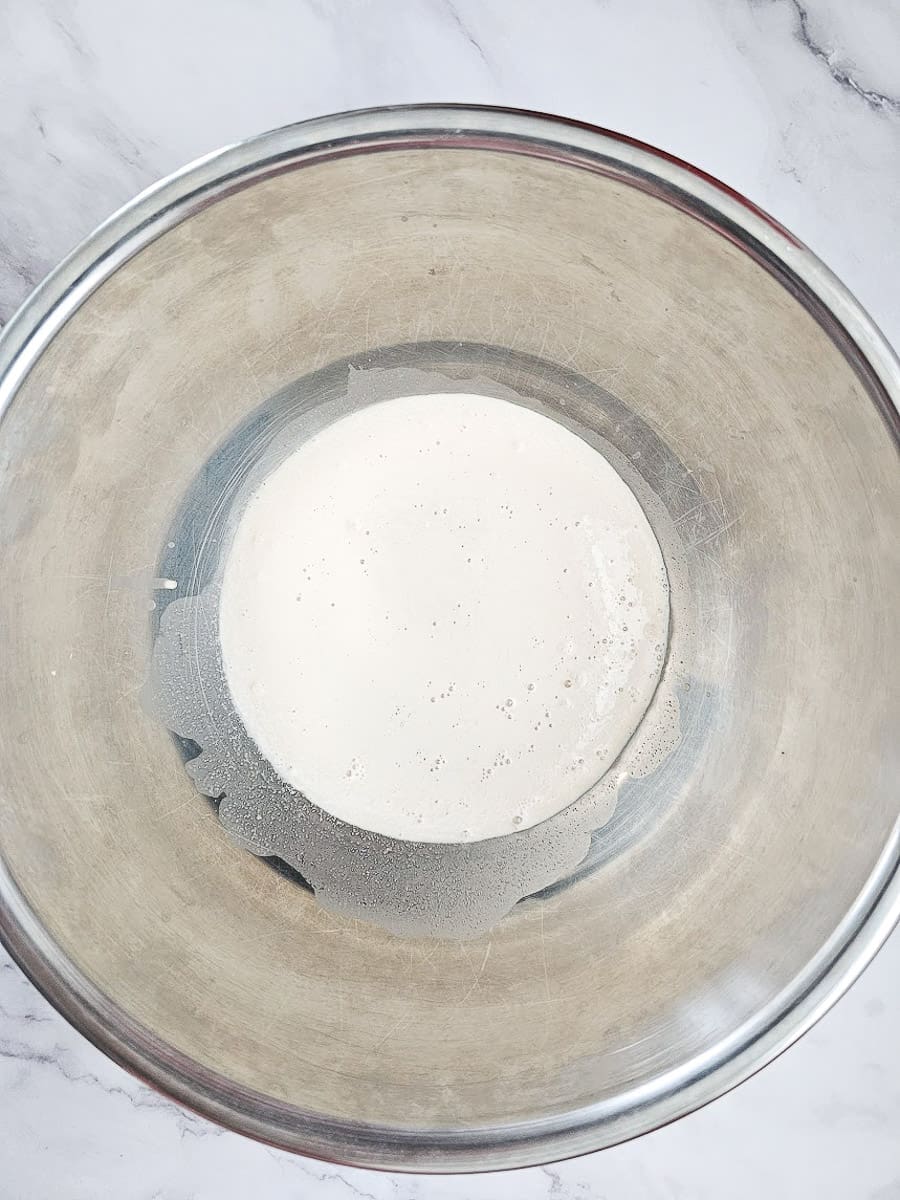
1. In a large bowl, add yeast and 1 tablespoon sugar to lukewarm milk.
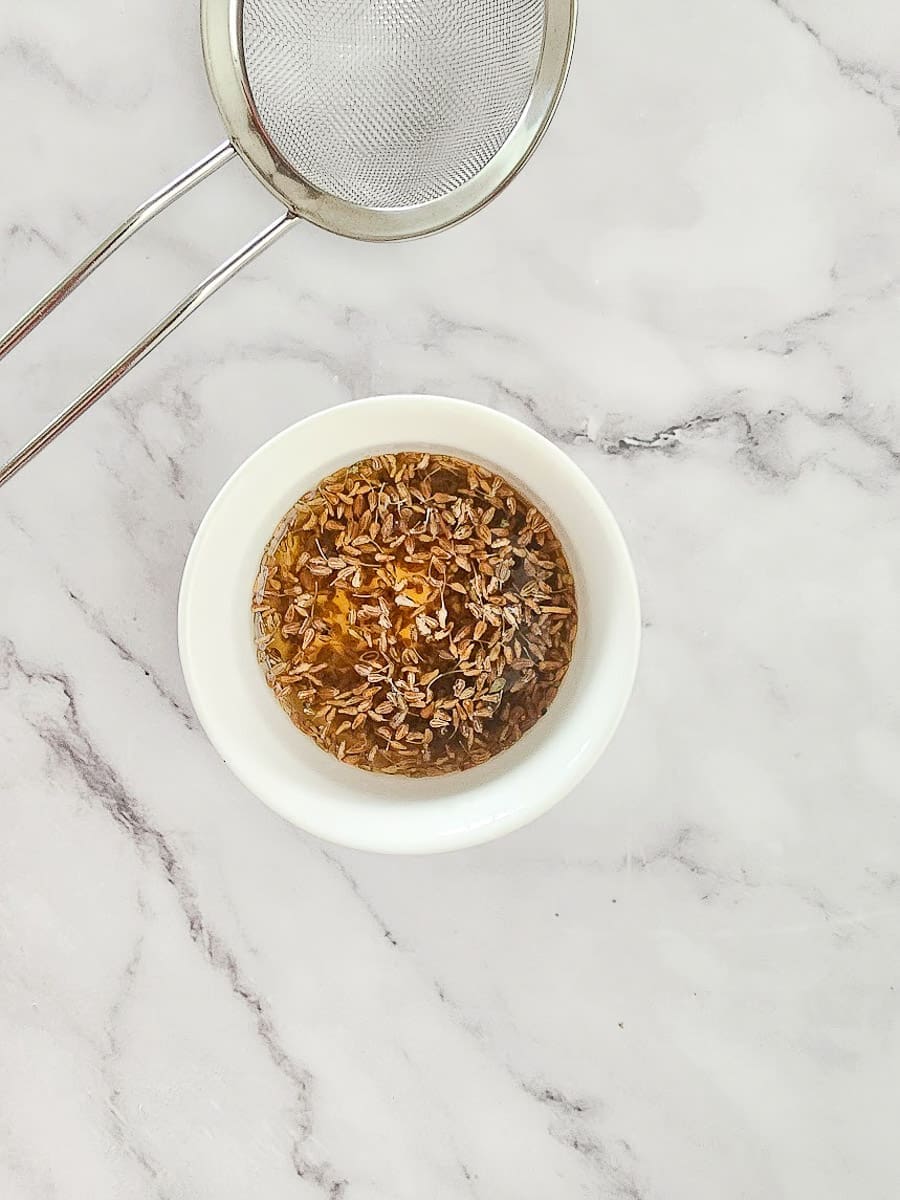
2. Add aniseed to boiling water for 10-15 minutes. Strain the cooled liquid to remove the aniseed seeds, leaving you with aniseed-infused water.
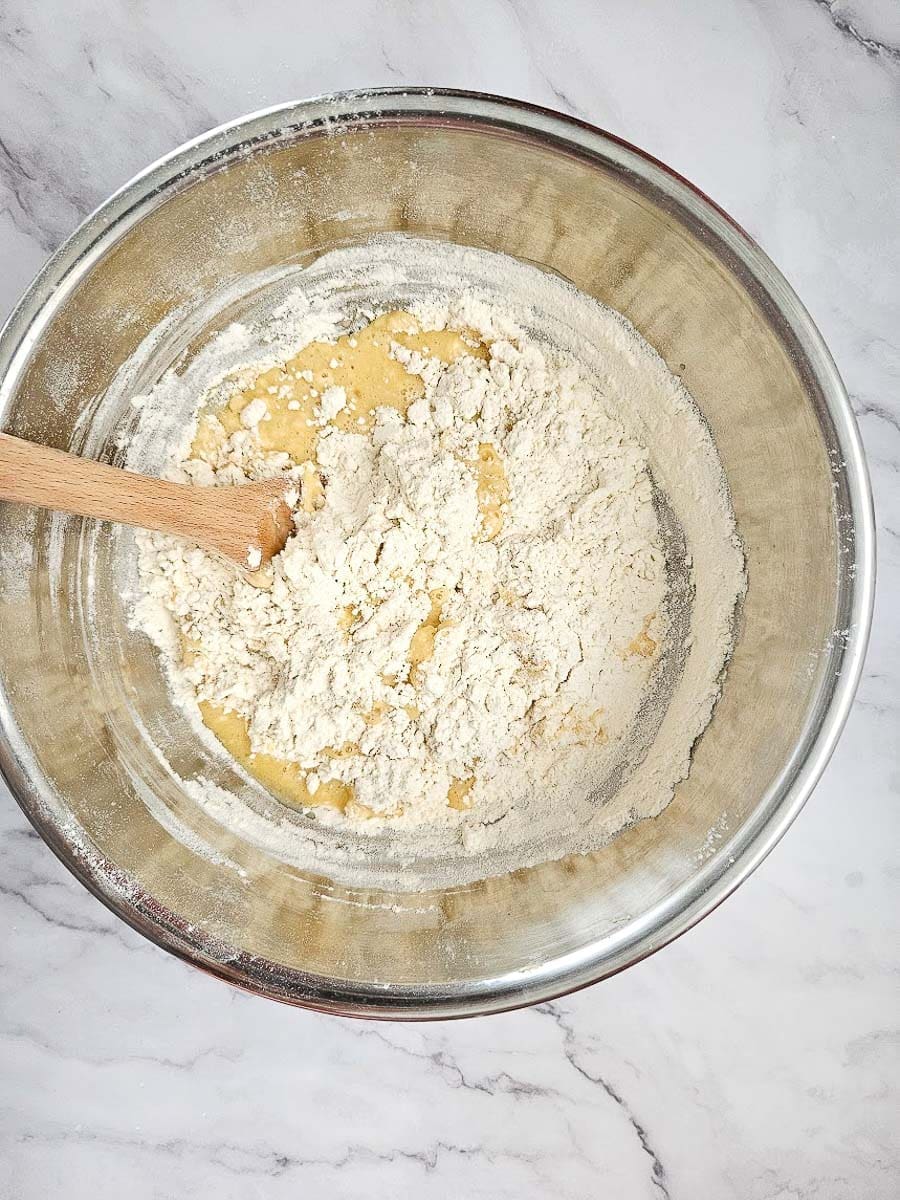
3. To the yeast mixture, add sugar, cooled aniseed water, cooled butter, orange juice, egg yolks, lightly beaten egg whites, mahlepi, mastika, 4 ¼ cups sifted flour and bread improver (if using).
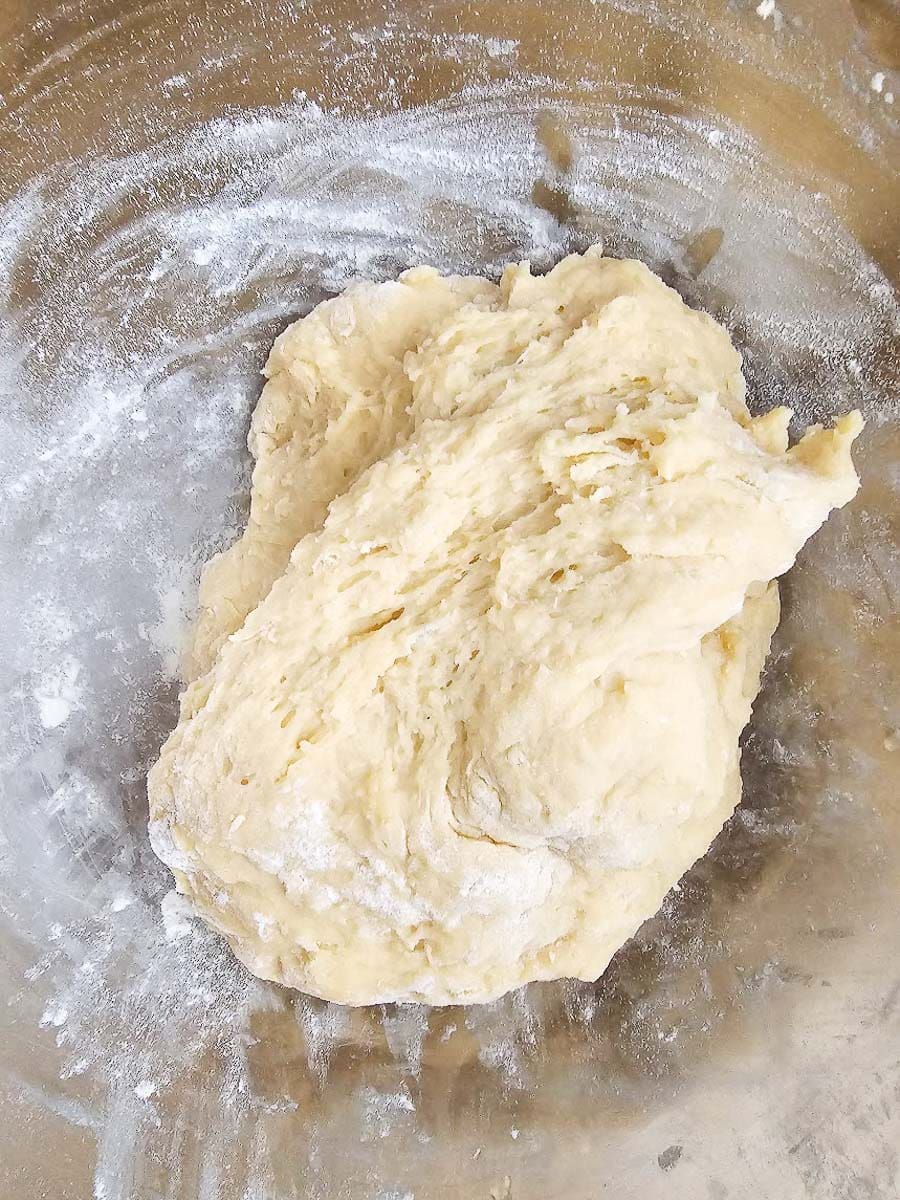
4. Bring together into a ball and add as much remaining flour as needed, a tablespoon at a time, until the dough is not sticking to your hands.
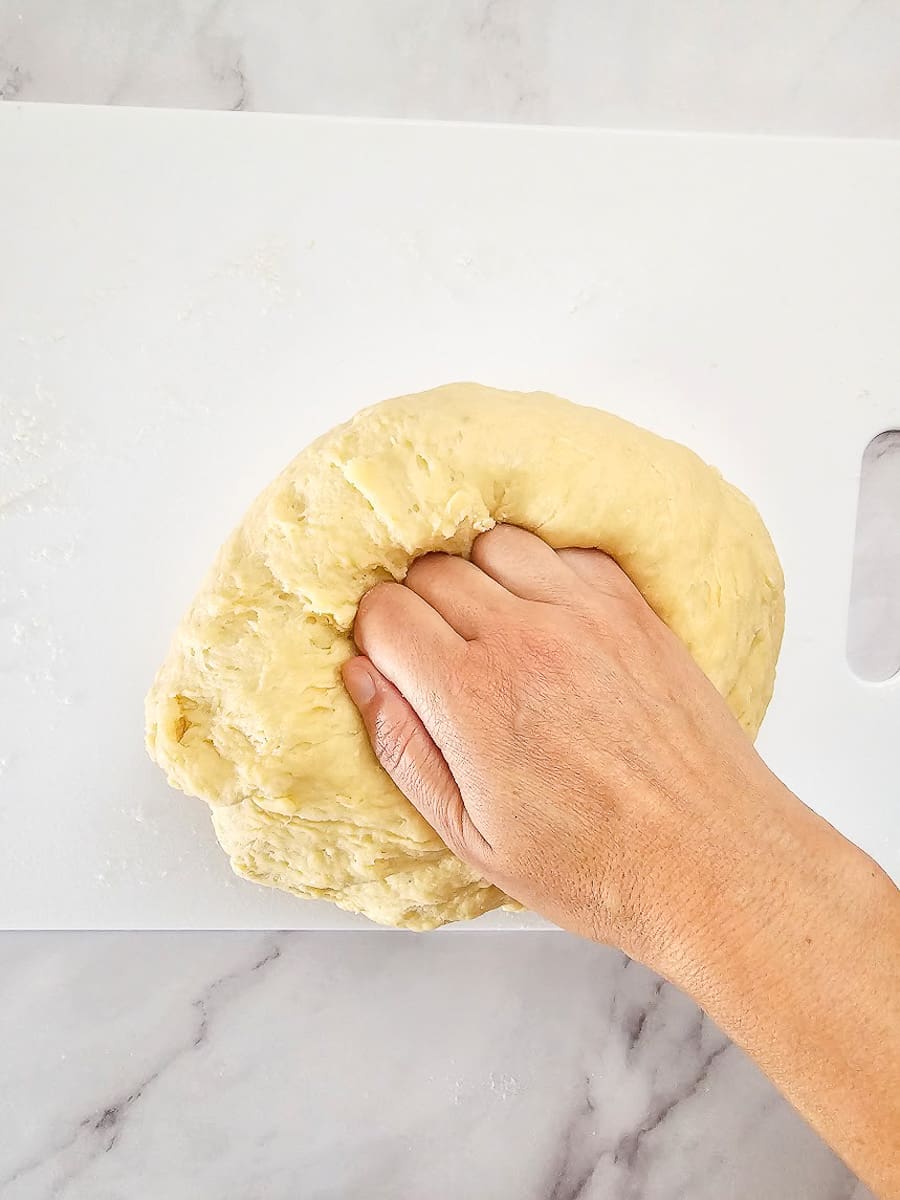
5. Knead for 10-15 minutes, by hand, until the dough is smooth and elastic.
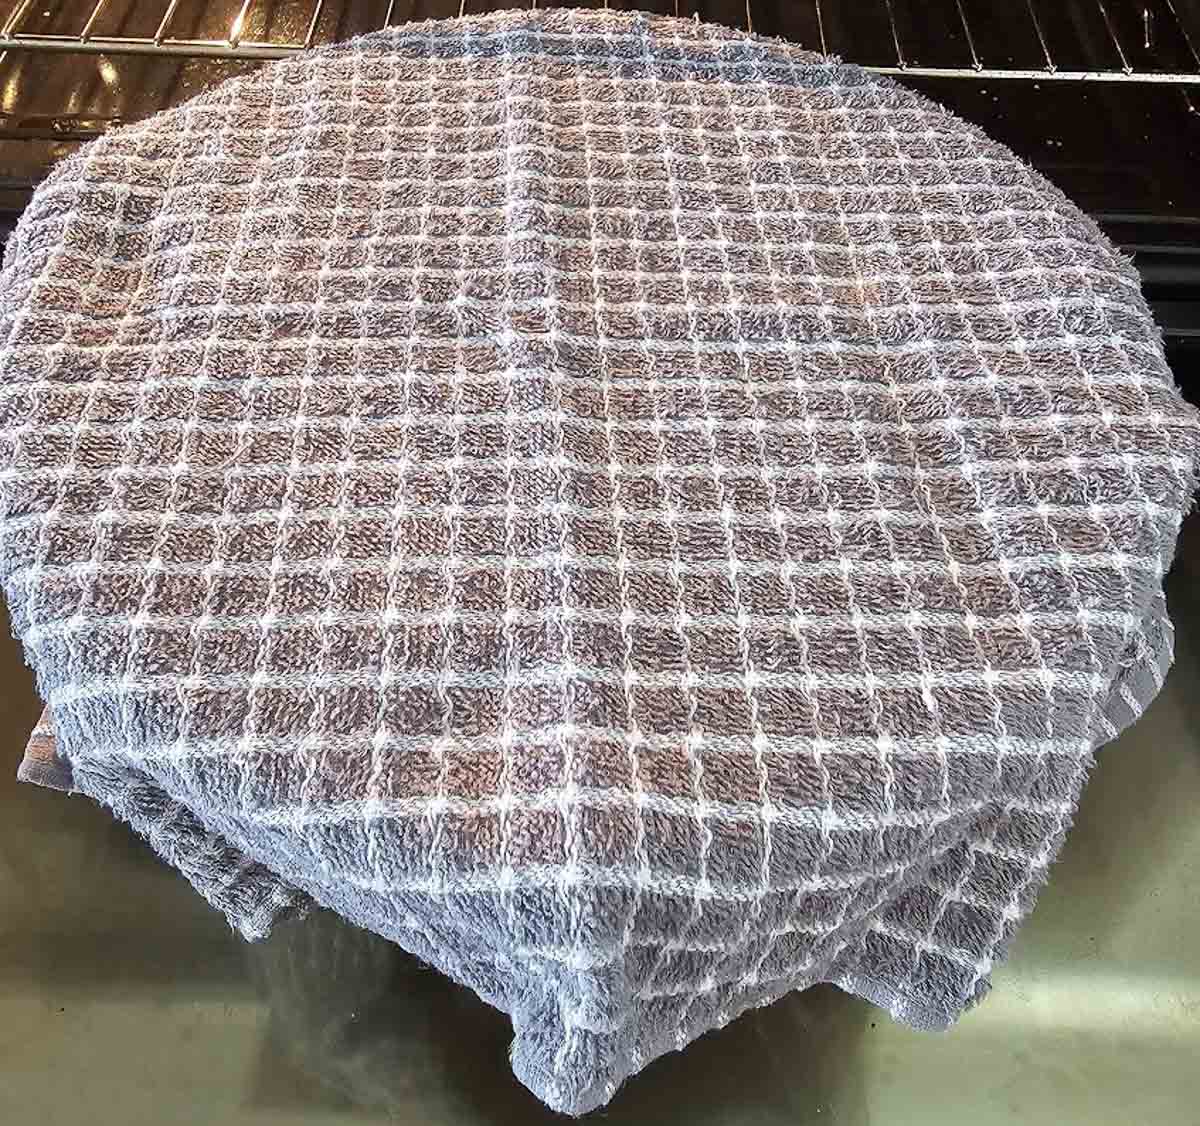
6. Cover with cling wrap and a tea towel and set aside in a warm place for approximately 2-3 hours or until your dough has doubled in size.
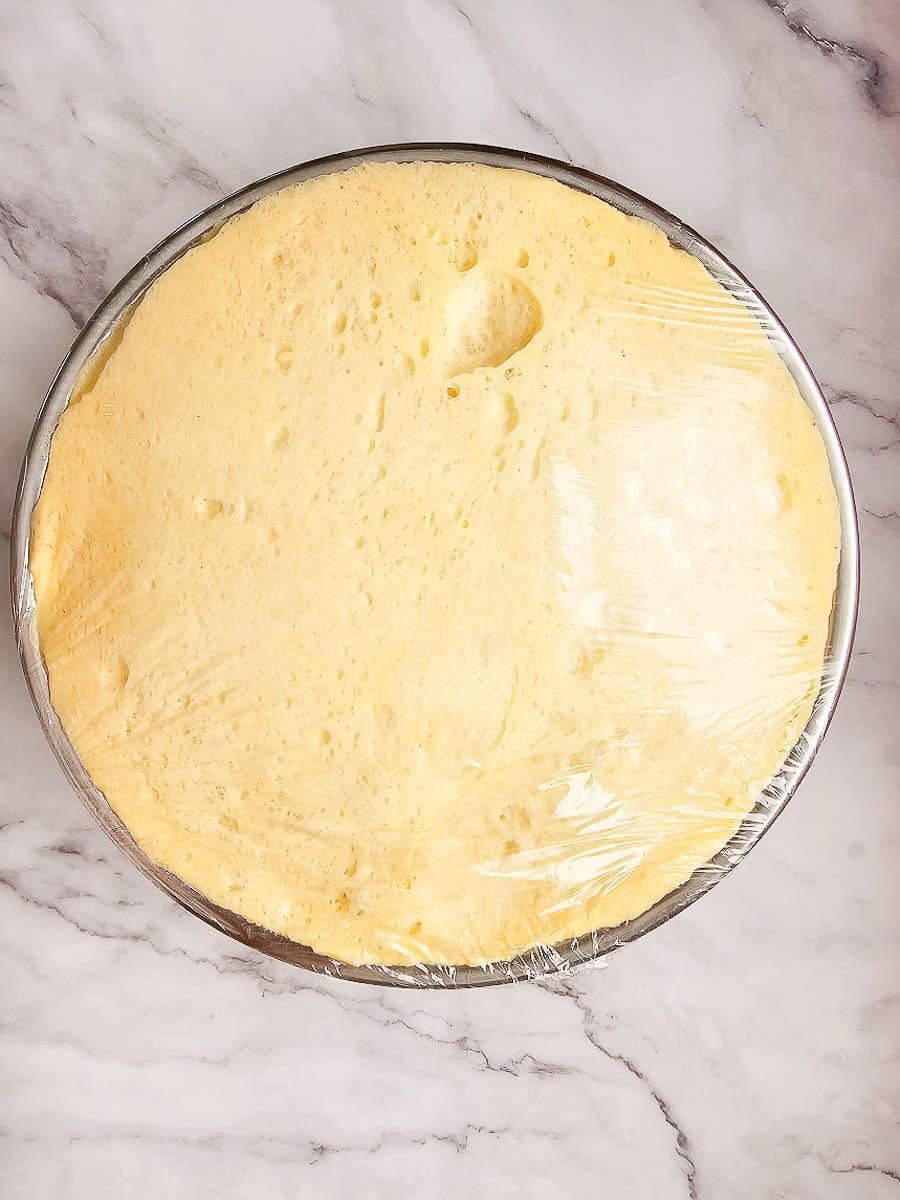
7. When doubled in size, gently deflate the dough.
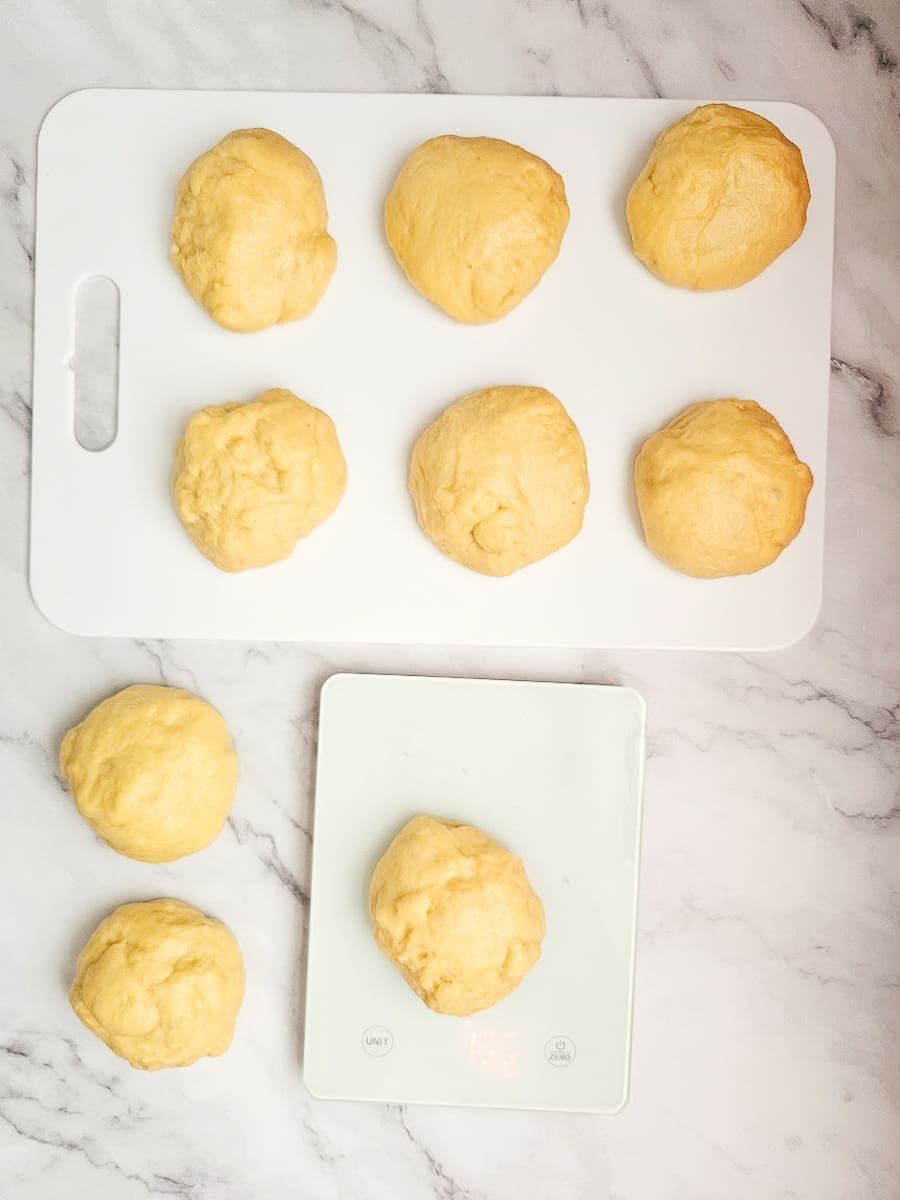
8. Using kitchen scales, divide the tsoureki dough into 9 equal portions (3 portions for each Tsoureki).

9. Gently roll the dough into a cylindrical shape with your hands, about 30 cm/ 12 inches in length.

10. Arrange three strips of dough side-by-side. Connect them at the top end and gently pinch and tuck this to join under so that you have a nice, neat edge.
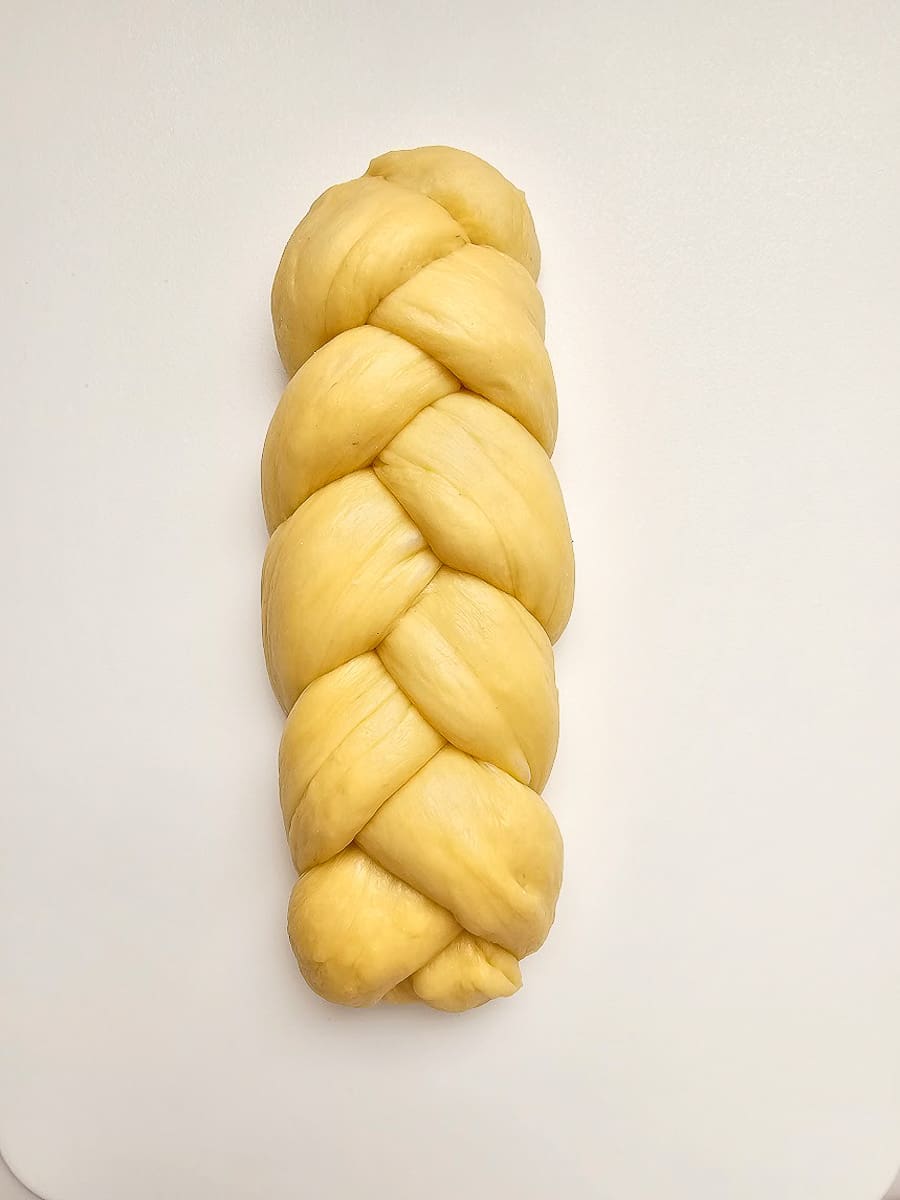
11. Plait the strips together and secure the other end by pinching it together and tucking it under to maintain the loaf’s shape.
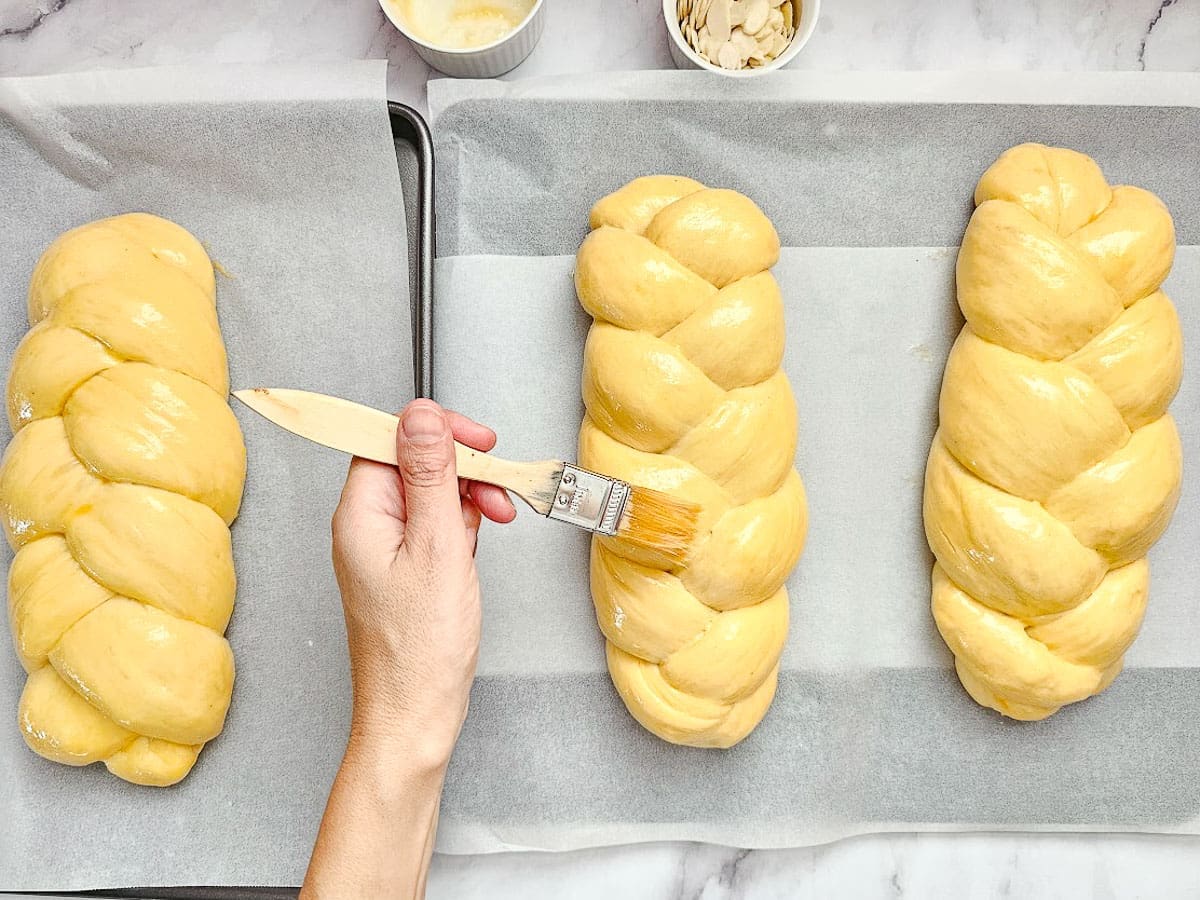
12. Proof a second time: Allow them to rise for 1-1 ½ hours or until they have almost doubled in size. Glaze.
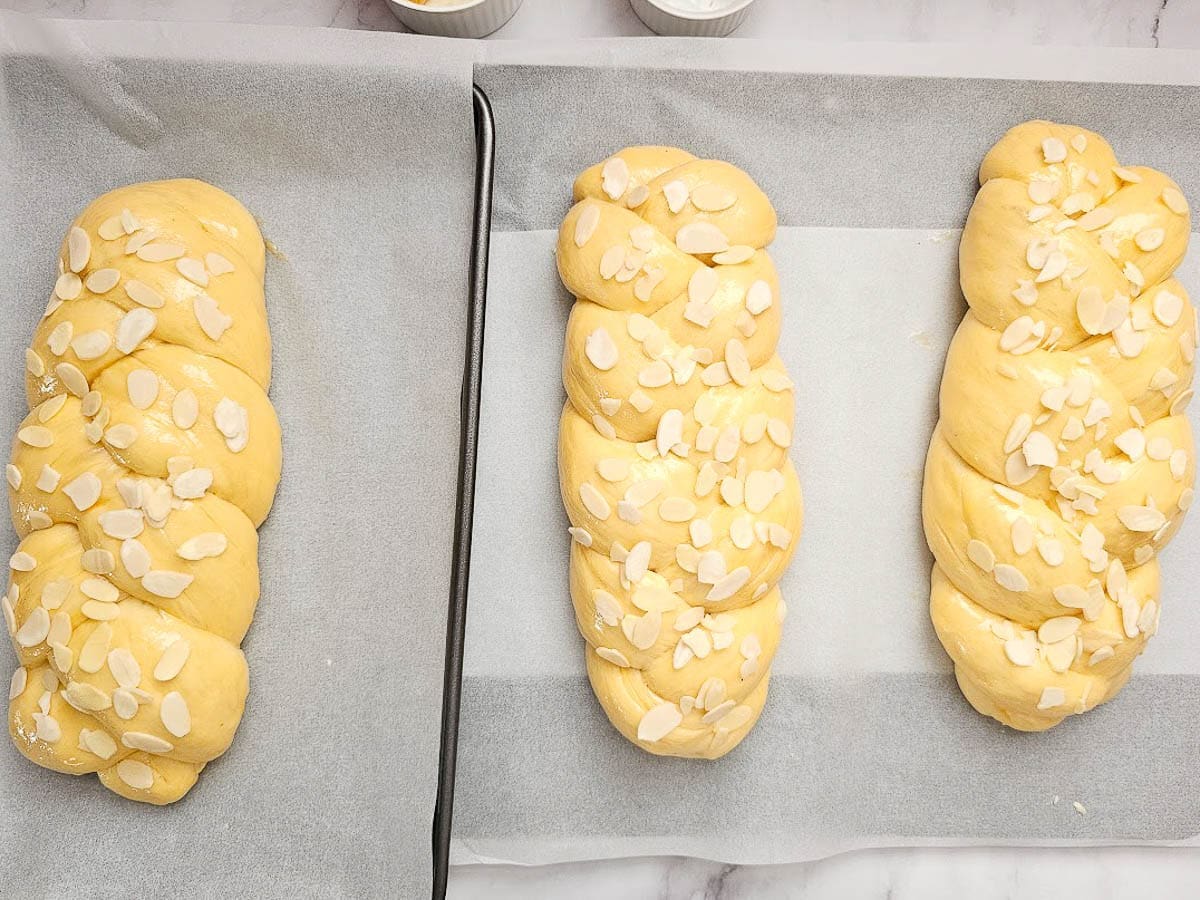
13. Sprinkle with flaked almonds.

14. Bake for approximately 15-18 minutes or until golden.
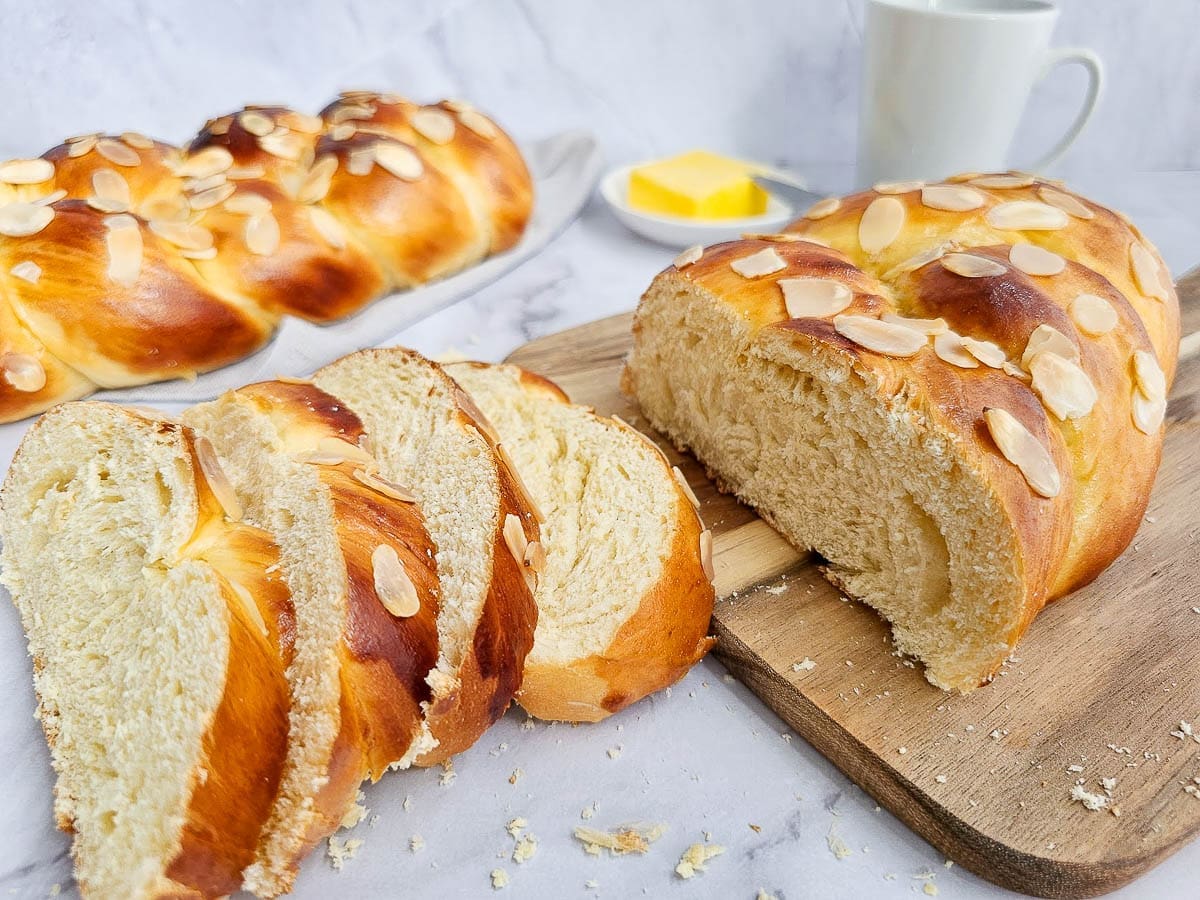
15. To serve, simply slice your tsoureki into 1-1/2 cm/1-inch slices. It even tastes delicious toasted with some butter!
Tips for making Tsoureki (Greek Easter Sweet Bread)
Use kitchen scales
I like to use kitchen scales when I make Tsoureki, as I find that the measurements are more accurate when using grams and ounces. I have also included cup measurements for those that find it easier. Keep in mind the cup measurements are using Australian measuring cups.
Use ingredients at room temperature
To ensure even rising of the dough, make sure your eggs, milk, orange juice and butter are at room temperature.
Activating the yeast – the right temperature
To activate the yeast, your milk needs to be lukewarm. If it is too hot, it will kill the yeast and your bread won’t rise. If it is too cold, the bread will take forever to rise. So, it needs to be just right (okay, now this is beginning to sound a little like a goldilocks story, but you get the picture). I use this same concept when making bread and pizza dough. Also, check that your dry yeast has not passed its expiry date, as this may also affect whether your tsoureki dough will rise.
How do you know your dough is the right consistency before kneading?
Your dough needs to be a little sticky, but you don’t want it sticking to your hands when kneading. (I use this same concept when I make scones). If it is too dry, they will be denser and will lose their light, fluffy texture.
The dough is sticking to my hands
If the dough is sticking to your hands when kneading, dust your hands with a little flour or oil. Your dough may also need a little more flour if too sticky, but use sparingly, a little at a time, and only when needed. If you add too much flour, your dough will become dry and your tsoureki will also be dry when baked. Alternatively, you can lightly oil your hands with olive oil or vegetable oil to prevent sticking. The oil creates a barrier between the dough and your skin, making it easier to handle the dough.
How to make a light and fluffy Tsoureki, every time
The dough is left to prove twice. Be patient! If you have made bread before, then you will know that this step can’t be rushed, and you need to let the dough rise. To make a light and fluffy tsoureki every time, you need to let the dough sit in a warm place and let it take its time rising.
The first proof: 2-3 hours. After you have made your dough and kneaded it for 10-15 minutes, you are ready for your first proof. Depending on the temperature of your home, this can vary. But just keep an eye on it every so often and when you notice that it has doubled in size, then you are ready to start plaiting.
The second proof: 1-2 hours. After you have plaited your Tsoureki, you are ready for your second proof. Again, be patient and let the tsoureki puff up. This can take 1-2 hours. I guarantee you, if you are patient, your Tsoureki will be light and fluffy.
Where is a warm place that my dough can rise?
There are many warm places where you can let your dough rise. Here are some suggestions below, but feel free to use whatever works for you.
Firstly, place your dough in a bowl and cover it with cling wrap and a tea-towel. Then try one of these methods or your own.
- Next to a sunny window. On a warm day, place your dough on your kitchen bench next to a sunny window.
- In an oven that is turned off but with the light on. Place the bowl in the oven with the door closed. The warmth of the oven light is enough to help your dough rise.
- Turn your oven to 30°C/86° F and leave the oven door open. Let the bowl rest on the oven door. This creates enough gentle heat for your dough to rise.
- Set the dough on a countertop near a warm oven or stovetop to benefit from residual heat.
- Let your dough rise outside in the sun. Find a spot that receives ample sunlight and is sheltered from any strong winds. Keep an eye on the dough to ensure it doesn’t overproof on a hot day.
Why is my Tsoureki taking forever to rise?
Tsoureki dough has different ingredients compared to bread dough. It has eggs, butter and milk. These ingredients contribute to a richer, denser dough and therefore, it will take longer for the dough to rise compared to making bread. As a result, expect the rising process to take 2-3 hours or possibly longer, depending on the temperature in your home.
Storage
When storing your Tsoureki, it is best to individually wrap each Tsoureki with cling wrap and then place in an airtight container. Like bread, Tsoureki tastes best when freshly made and stored at room temperature. If you have any leftovers, you could use one of the following methods to store your tsoureki.
- At room temperature: It should keep soft for 4-5 days.
- In the refrigerator: It can be stored for 1-2 weeks.
- In the freezer: It should keep for 2-3 months. Ensure proper thawing at room temperature.
To serve
To serve, simply slice your Tsoureki into 1-1/2 cm/1-inch slices. When freshly made, your tsoureki is soft and fluffy. If you have stored it in the fridge or freezer, you may want to pop it in the microwave for 10-15 seconds. It even tastes delicious toasted with some butter!
More Greek Easter Recipes
Looking for more Greek Easter recipes? Check out these traditional favourites.


